and Chasing Jupiter from my Yard.
  Back to MrGibson HOME
| and Chasing Jupiter from my Yard. |
Back to MrGibson HOME |
|
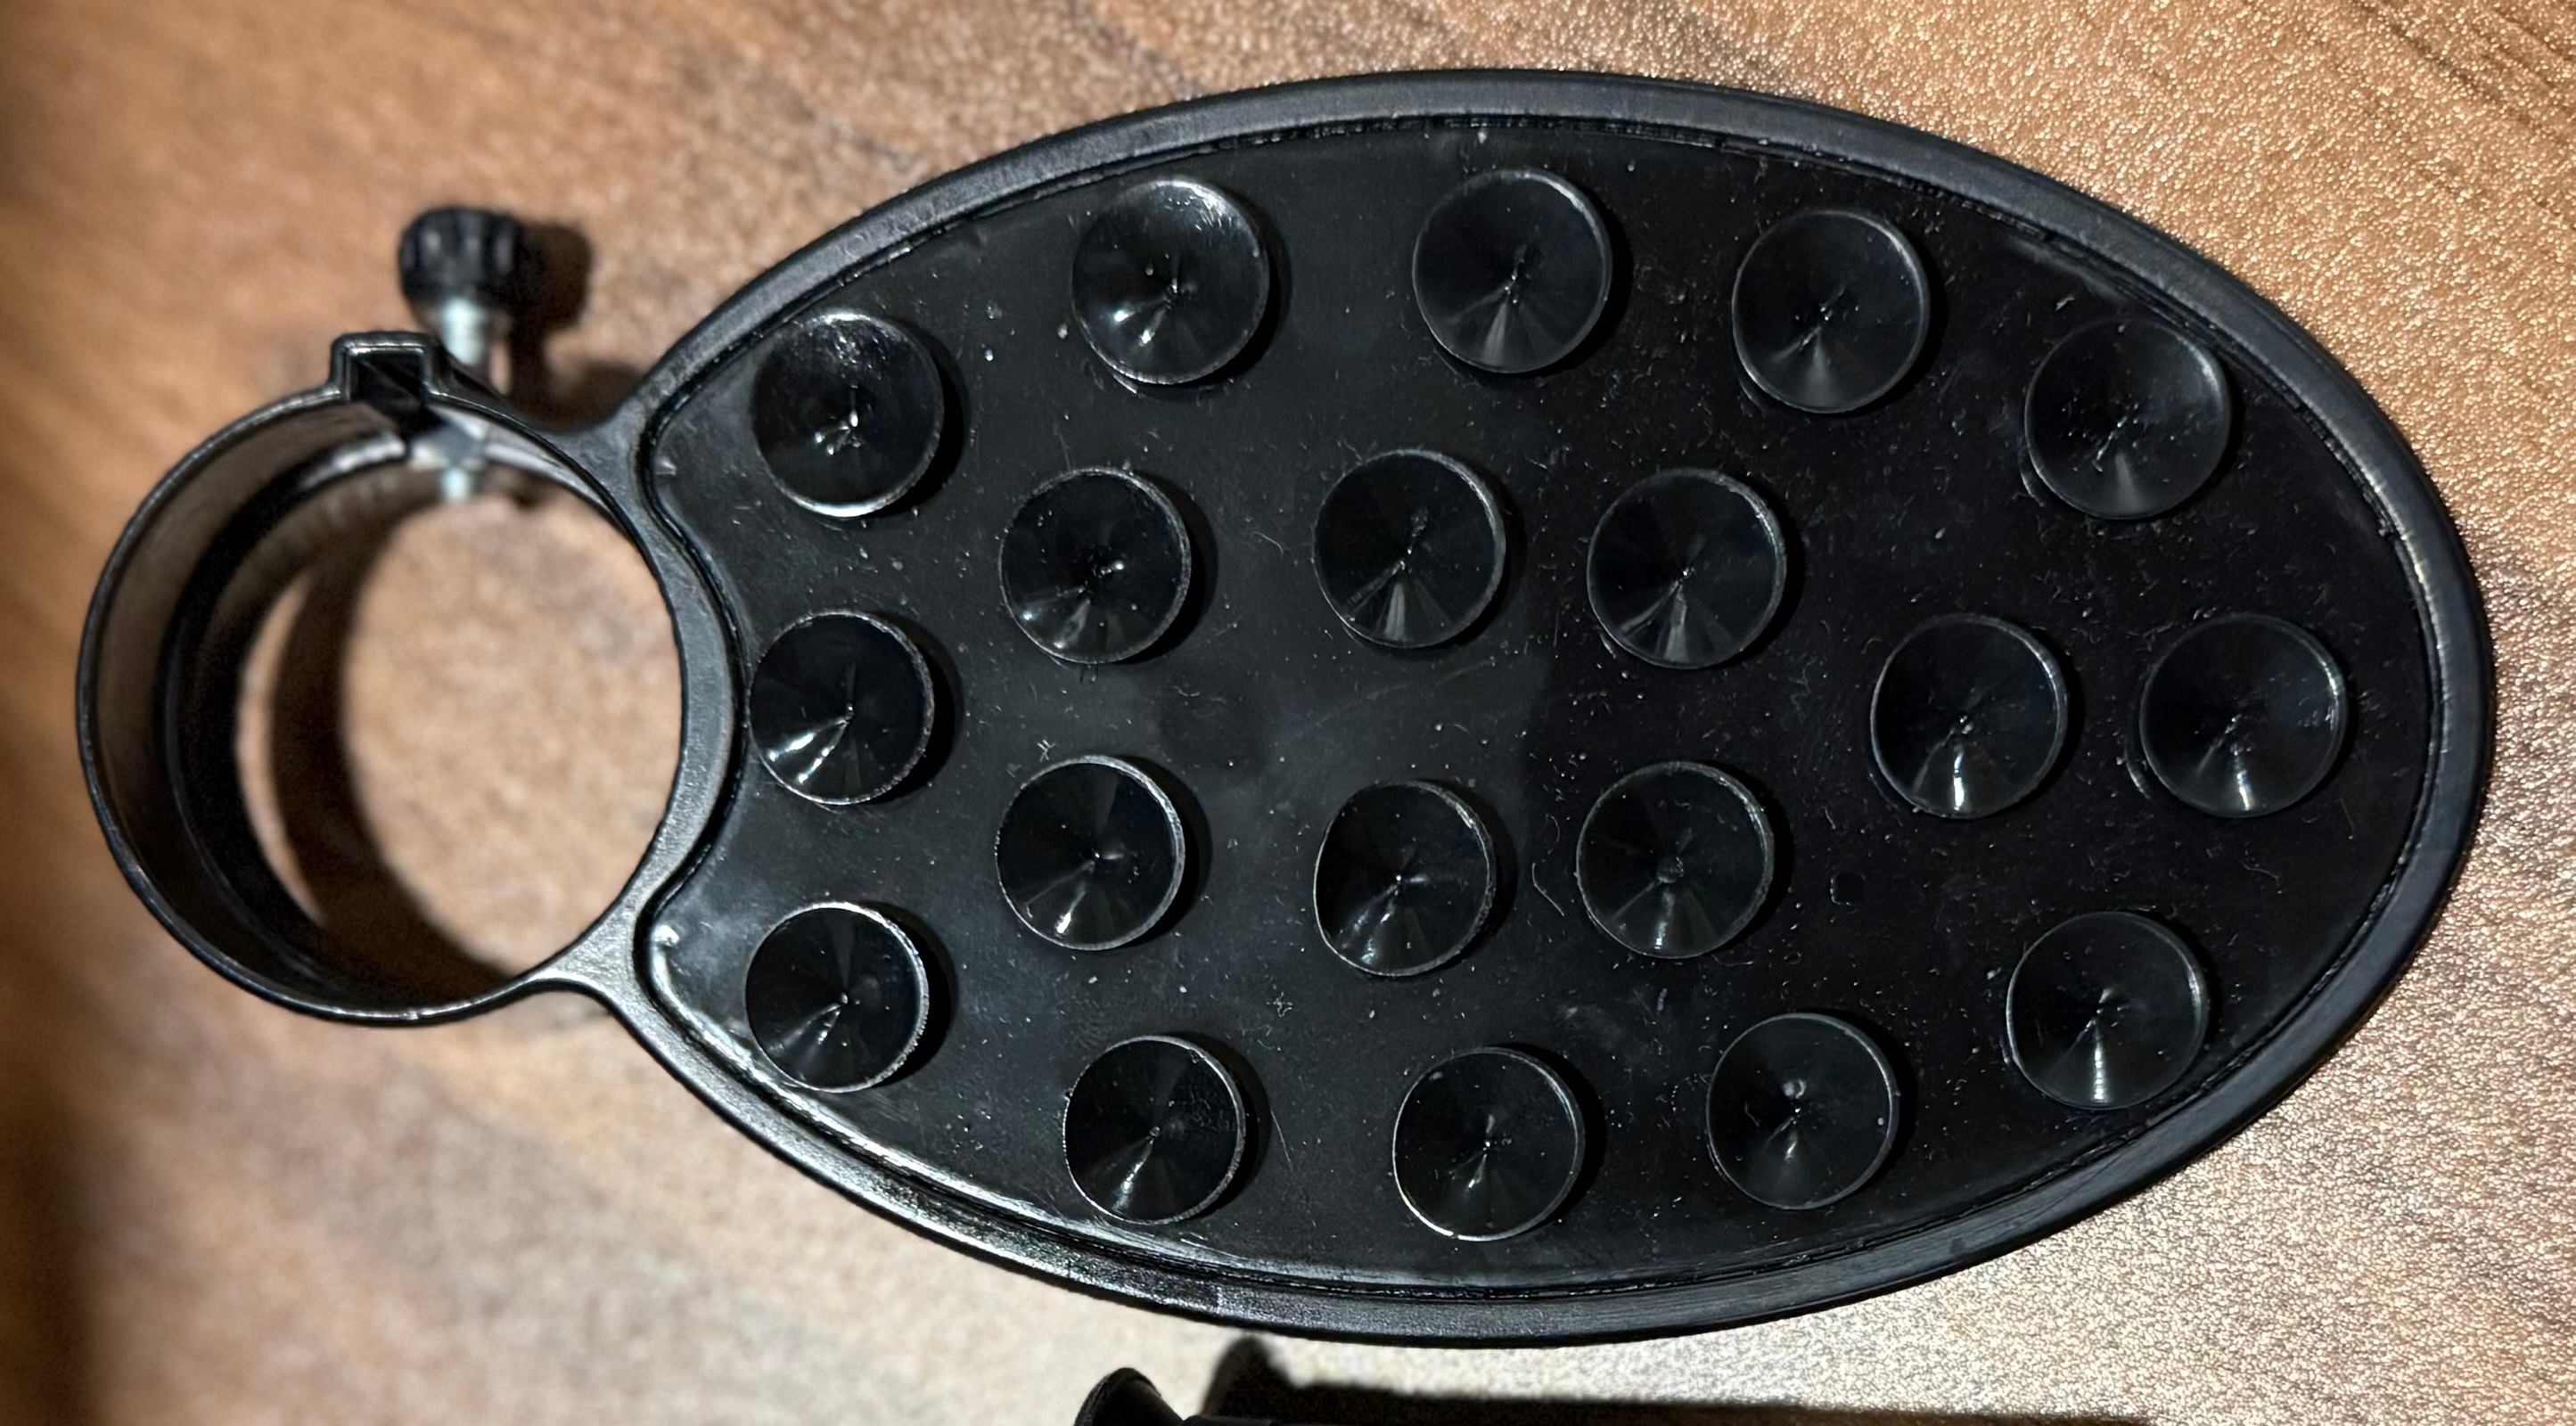
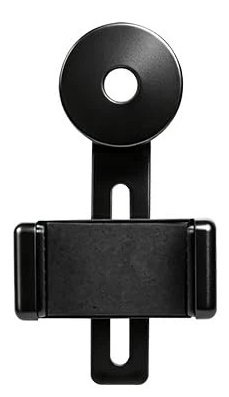
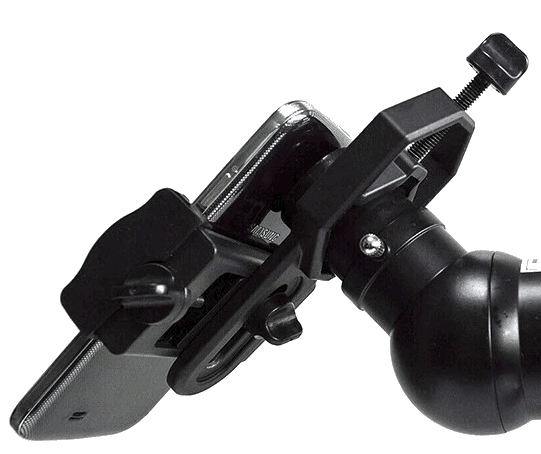
Taking telescope photos with iPhone To take photos with an iPhone and a telescope, use a smartphone adapter to securely lock your camera lens directly over the eyepiece. Align the setup during the daytime, use manual exposure to dial in details, and set a no longer than 3-second timer to prevent blur. Note: taking photos with your iPhone on a telescope takes practice and settings testing. It also takes patience. I have now put in hours and hours of using my iPhone with my telescope. You will never get the iPhone to look as good as what you are looking at in your eyepiece. You can get cool and very good photos of many things. But just note, it will never be as good as your eye. If you want really good photos, don't use your phone. Apple does not care about making a good phone camera for this task. - Telescope Eyepiece: A lower magnification eyepiece with a wider lens surface (like a 20mm - 25mm Plössl or Keller) is much easier to align phone camera than a tight 4mm to 15mm eyepieces. 1. Use One Lens Setup your phone for only one lens. Use the primary or "Main" lens. By default, Apple phones will try to use all two, three, or four of it's lenes. Unless you force the iPhone to use it's primary lens, you will become VERY frustrated. You can physically block the other two lens so the software will not use them or do it by commercial third party software. 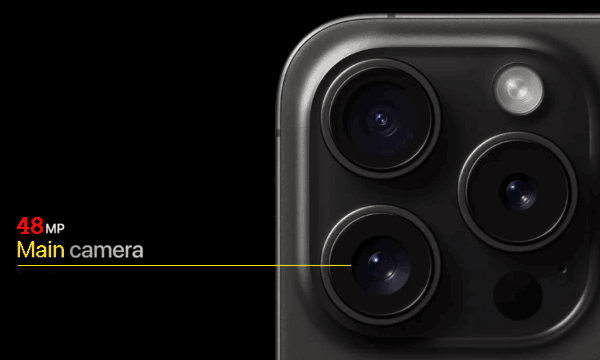 2. Essential Gear Phone Adapter: Do not try to hold the phone by hand; this is very frustrating and trust me, you’ll get frustrated by shaky images and misalignment. Use a sturdy lens clamp / phone clamp adapter, three-axis adapter if you can, to perfectly center your phone's camera over the eyepiece. Or a sturdy two-axis adapter is the next best. Try setting up before going out. The phone suction tray type are generally horrible, but better than nothing. The lens snap-over type are generally horrible. A lot of low end telescopes come with one or the other.
Bluetooth Shutter Remote: Touching your phone to snap a picture causes vibrations that ruin focus and blur photos. A cheap Bluetooth clicker or the volume button on your Apple EarPods will let you trigger the shutter hands-free. These are fairly cheap on Amazon and are worth not touching your phone, as shutter speeds/exposure times are on the long sides 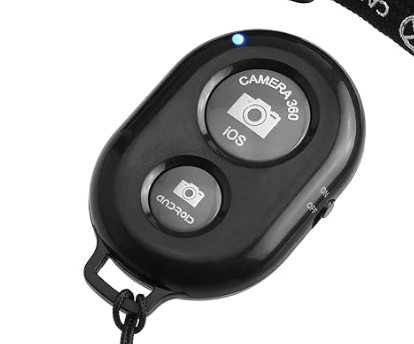 The Eyepiece / the Telescope: - Telescope Eyepiece: A lower magnification eyepiece with a wider lens surface (like a 20mm - 25mm Plössl or Keller) is much easier to align phone camera than a tight 4mm to 15mm eyepieces. - Different telescopes have different purposes. Since you need a wide eyepiece with your phone camera, if you can, match up the telescope's focal length to your needs. Long focal length for higher mangnifications. Shorter focal lengths for deep sky, low magnification. 3. Camera Settings Lower the Exposure: Because the sky is pitch black, your phone will try to overexpose bright targets like the Moon or planets. Is your phone in night mode? 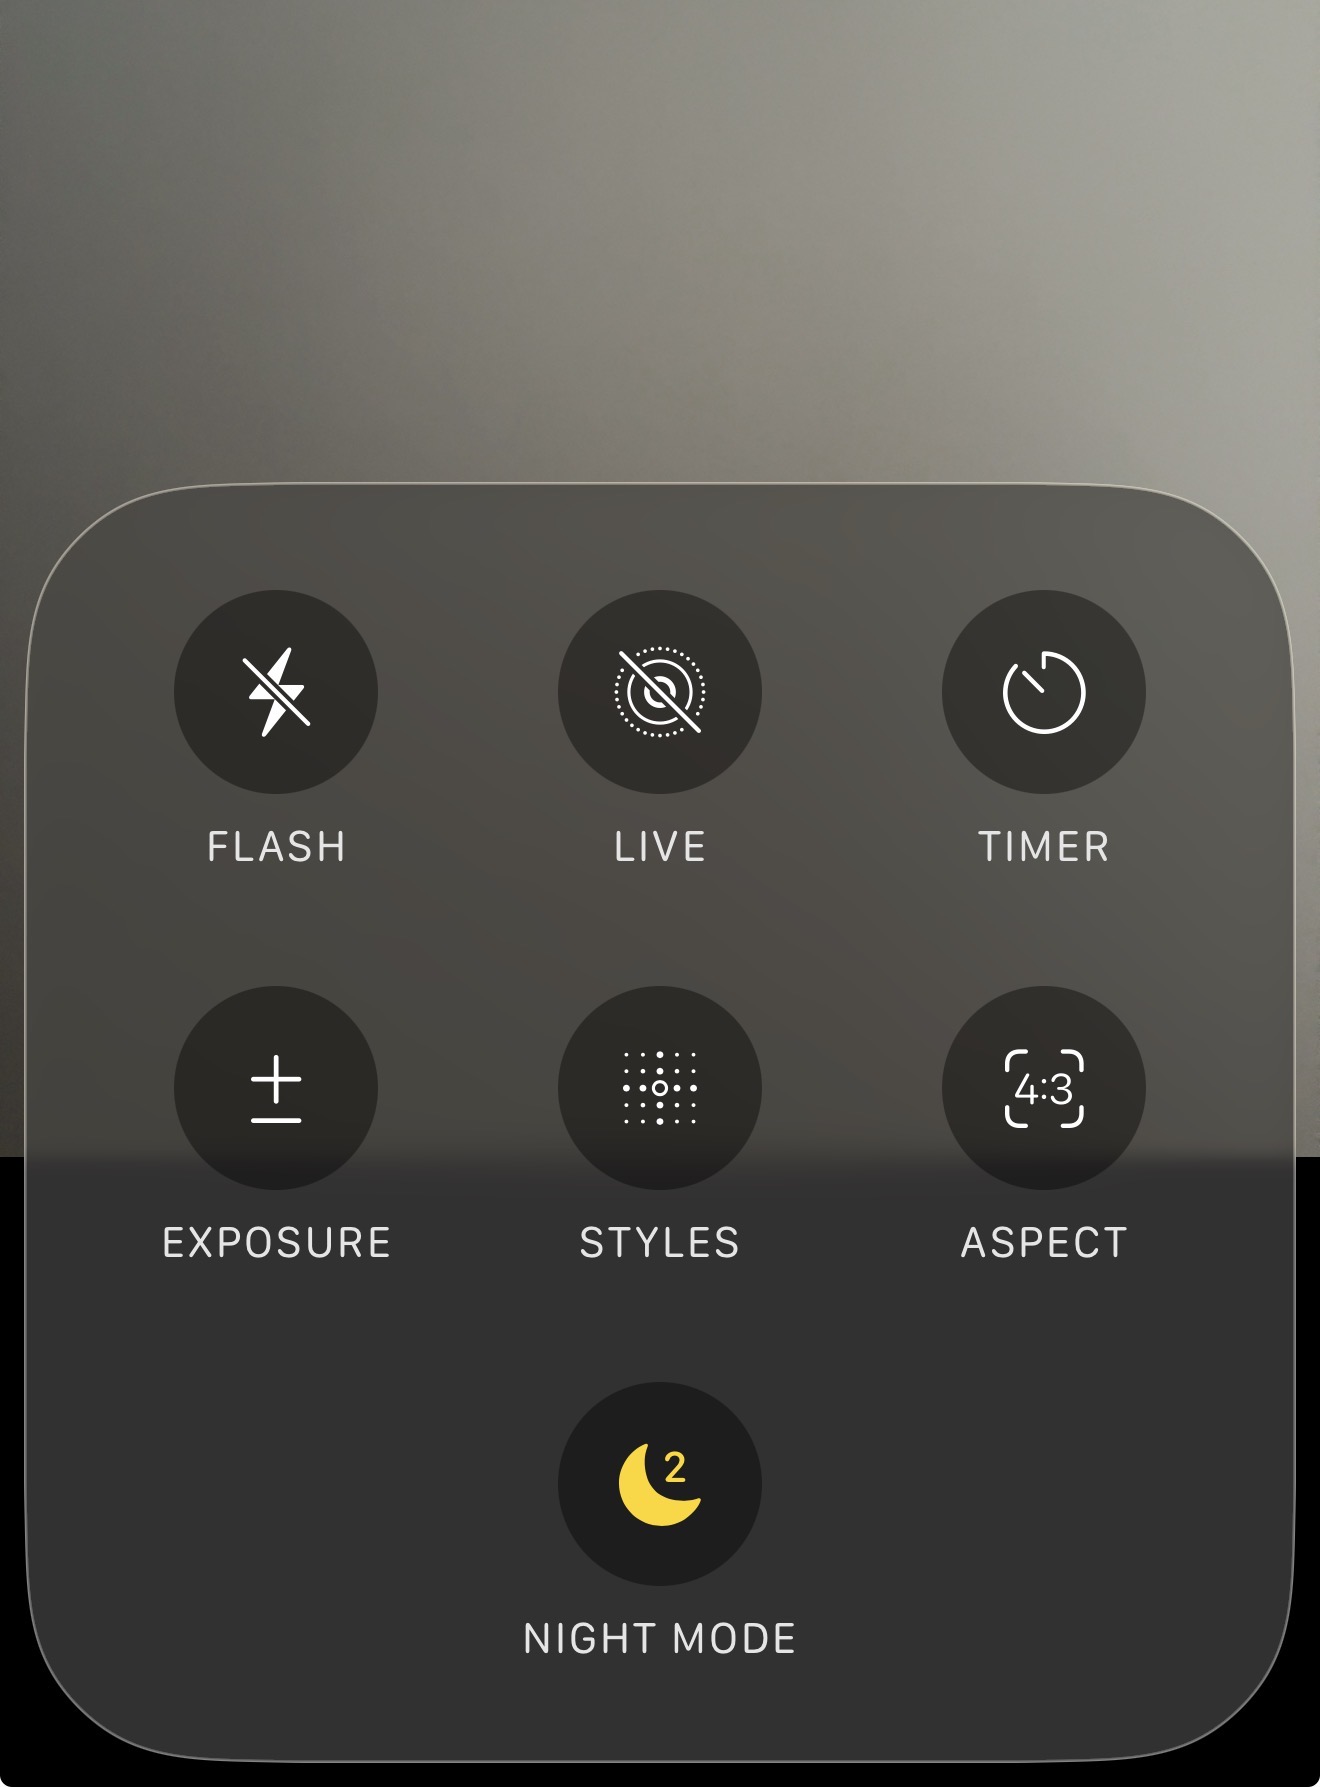 For planets - Tap the screen to focus on your target, then slide the sun icon down to reduce the exposure and reveal surface details. 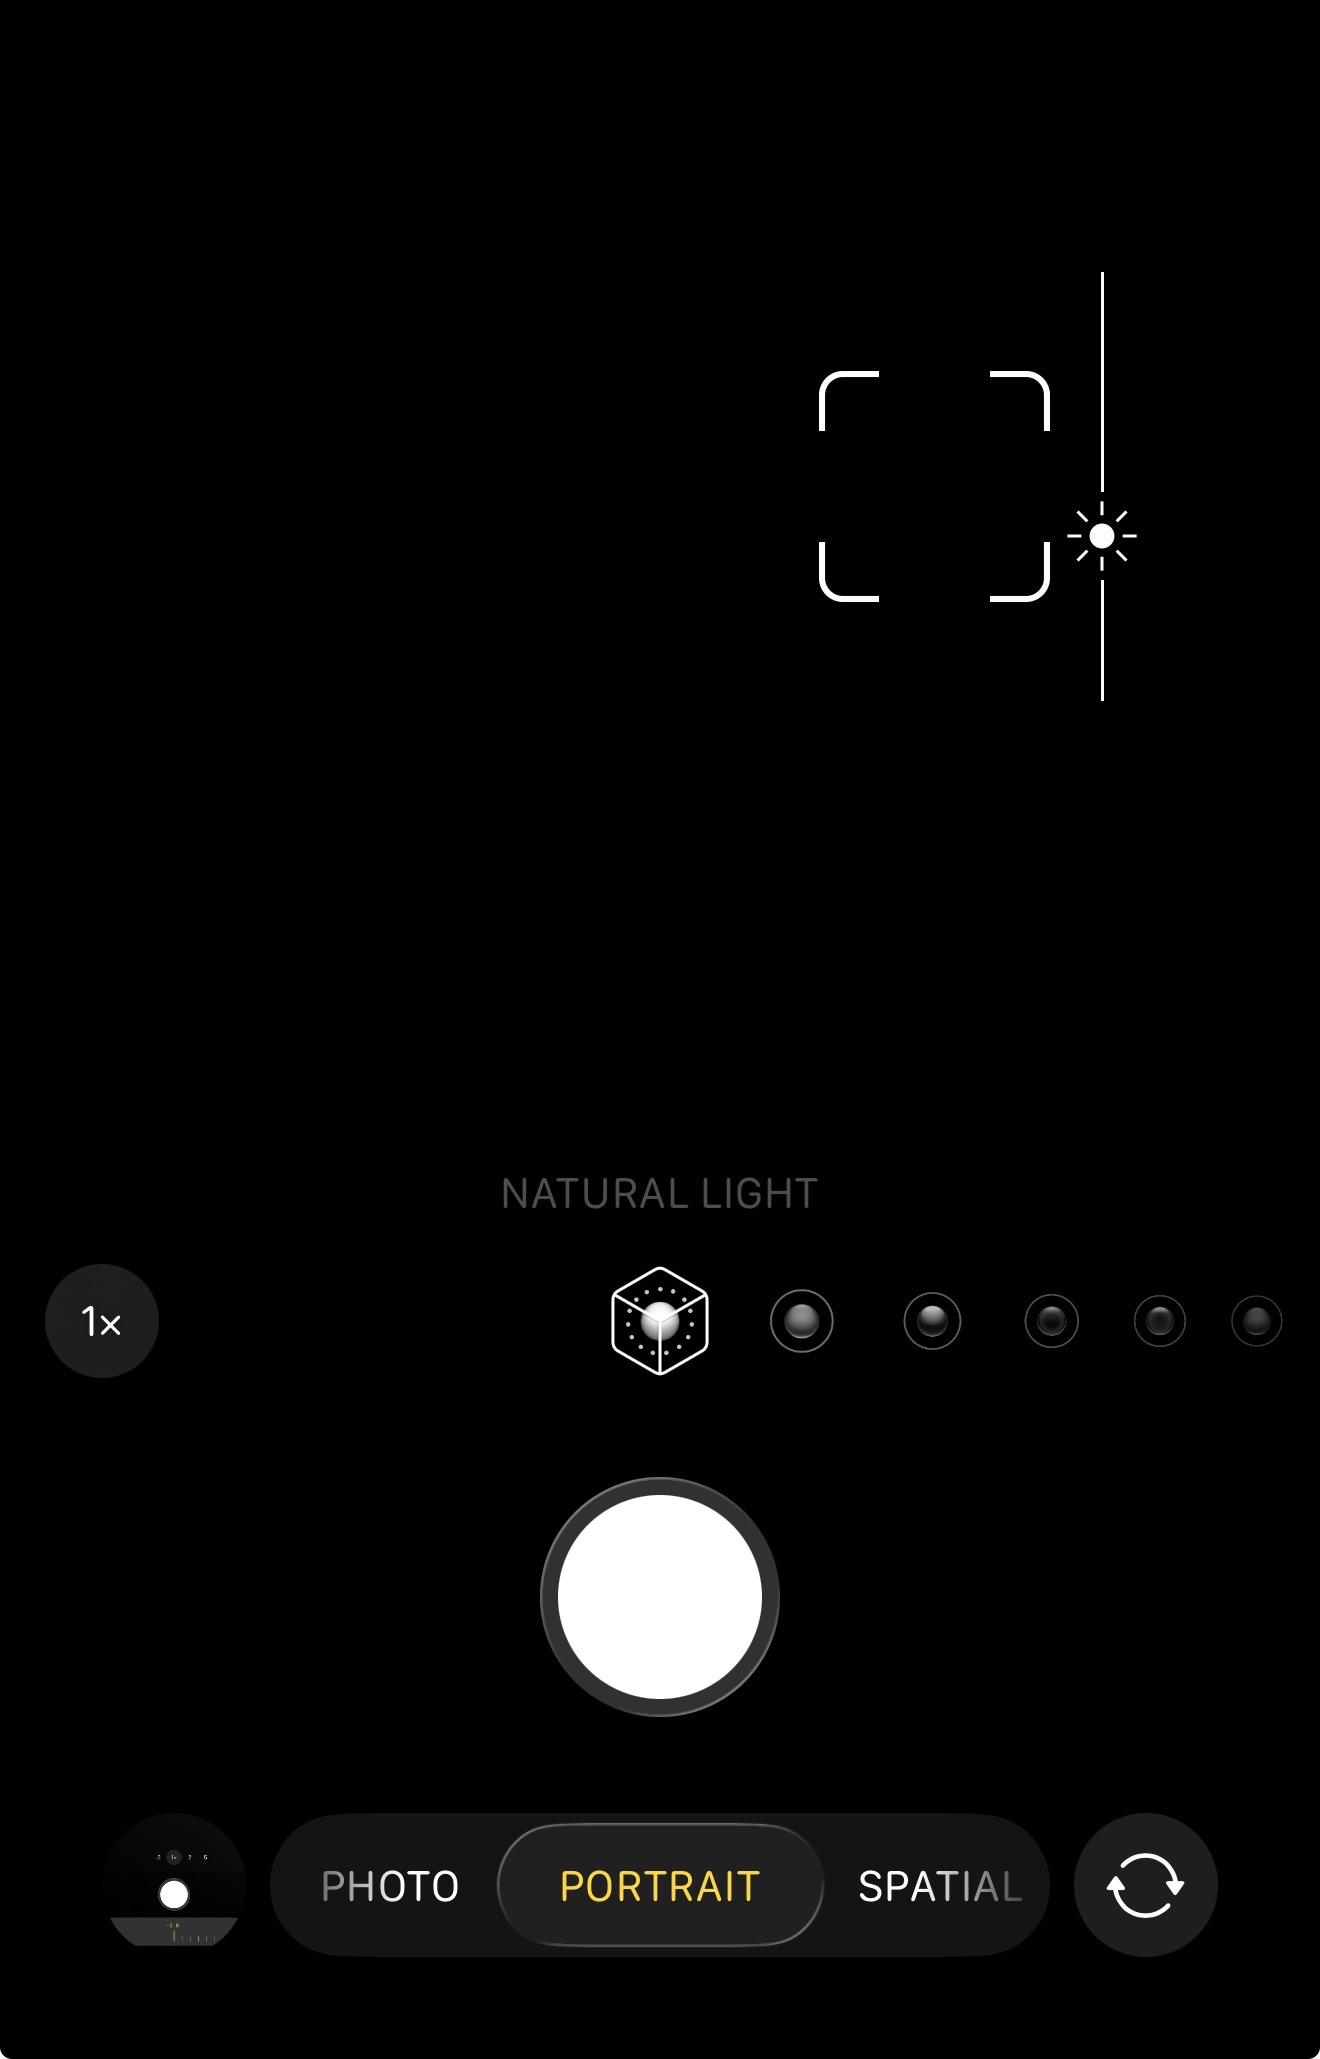 For Really bright objects like Venus and the Moon, set your exposure as low as you need. For Really dim objects, set your exposure as high as you need. 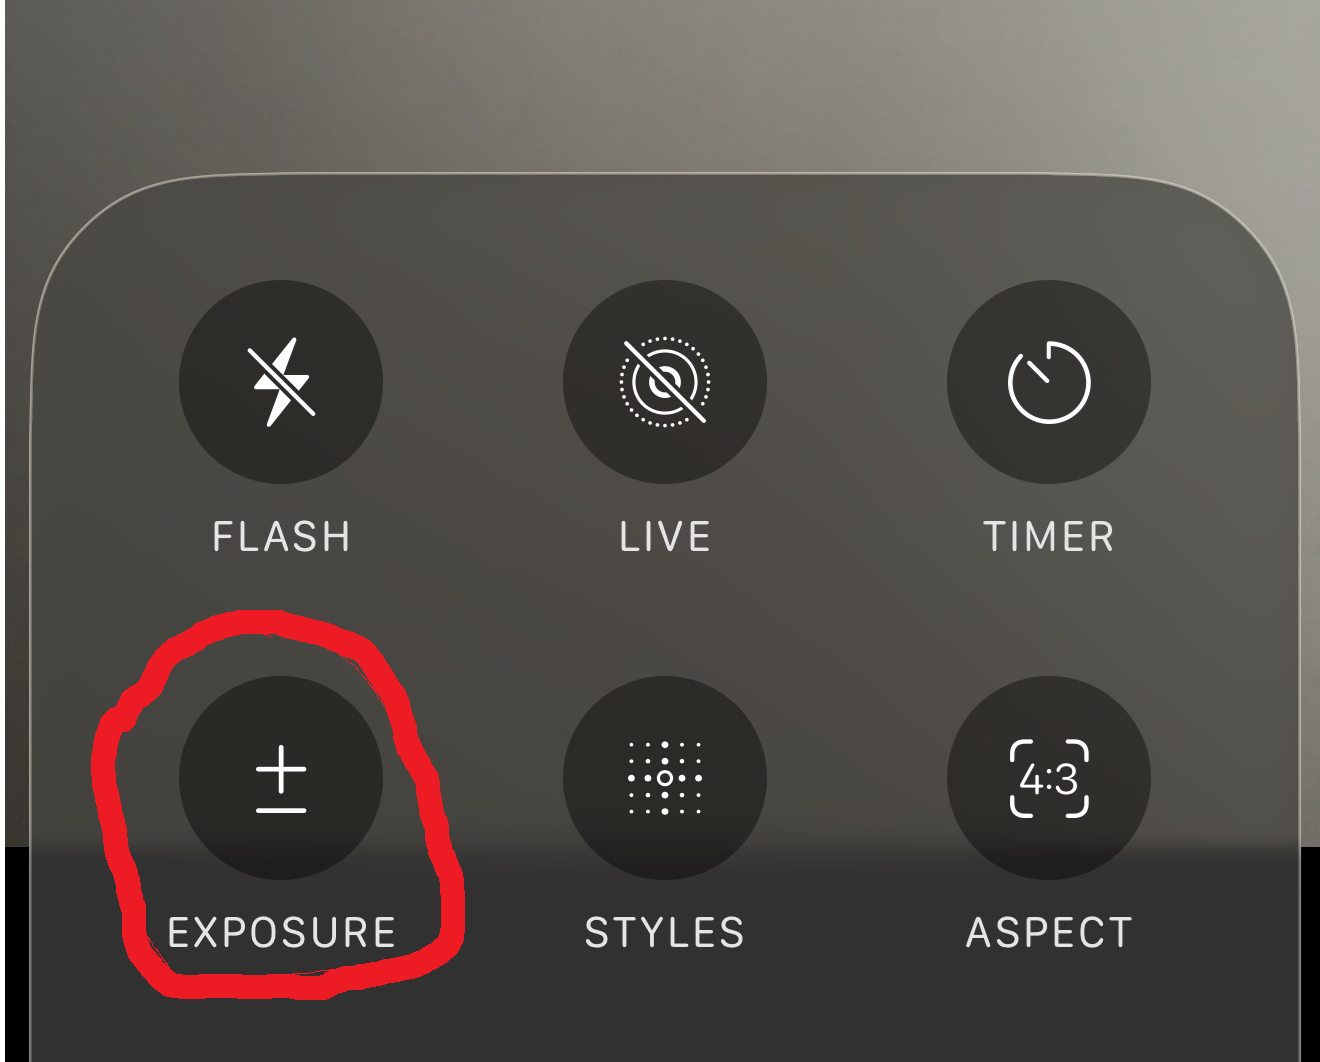 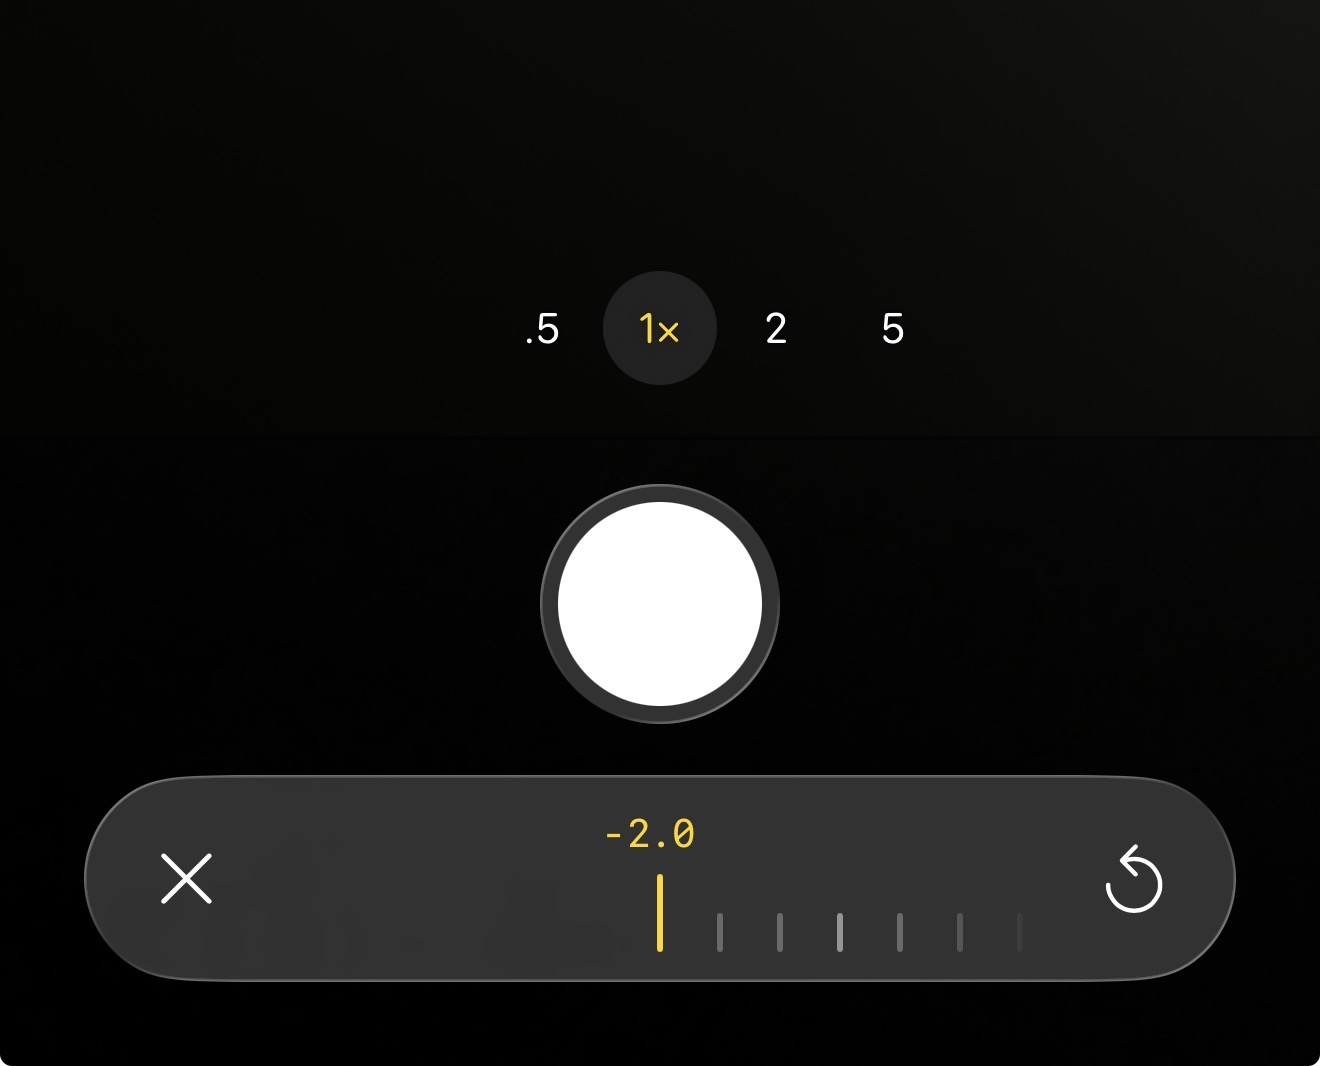 Use Pro Tools/Apps: If you want deeper control over ISO, shutter speed, or TIFF/RAW formats, try third-party applications like NightCap Camera or AstroShader. For the Moon (Video Trick): Instead of taking a standard photo, switch to video mode in 4K at 60fps. Record a short 10-second video of the Moon drifting across the frame, then use free software (like PIPP or AutoStakkert!) on your computer to extract and stack the sharpest individual frames. 4. Focusing Start Wide: Begin with a lower-power eyepiece (e.g., 25mm or 20mm) to easily locate your celestial target and center it on your phone's screen. Dialing in the Focus: Once centered, fine-tune the focus knobs on the telescope while looking at your iPhone screen until stars appear as pinpricks and craters look razor-sharp. Avoid Digital Zoom: Do not use your iPhone’s digital zoom; it will degrade image quality. Instead, use a higher-magnification telescope eyepiece if you want a closer shot. Daytime Alignment / Practice First: Aligning the camera lens with the tiny exit pupil of a telescope eyepiece is much easier in the daylight. Point your telescope at a distant object like a telephone pole or chimney, lock the phone into the adapter, and adjust the axis knobs until you get a clear, unobstructed image on your screen. |
 (c) 2000-2026 by Michael Gibson. All graphics, code (php, html, css, javascript, ect.), content (unless source states other), and posts by Michael Gibson. Graphics, content and code created with GIMP, gedit, and usually vim. This page uses CSS that works on *ALL* browsers that are CSS compliant. Like FireFox, Chrome, Edge, and Safari. Moving code to PHP 8.x You are using Mozilla/5.0 AppleWebKit/537.36 (KHTML, like Gecko; compatible; ClaudeBot/1.0; +claudebot@anthropic.com) |